9 Easy Steps for Creating Trim Bands
Trim bands help take your custom fishing rod one step further by adding a unique decorative pop. Creating a trim band is a fun and simple way to add decoration, so check out how to enhance your custom rod with that perfect personalized touch.
Trim bands are often done in thread colors that contrast the color of the guide wrap, blank, or both to accentuate the custom components of the finished fishing rod. Metallic threads are intended for rod decorations, but there are many other thread options for trim bands.
As far as thread sizing goes, the common rod building standard is to use thread with a diameter equal to, or smaller than the guide wrap’s thread diameter. Keep in mind this is a suggestion, so let your imagination loose because that’s how rod builders often do their best work.
Tools and Supplies for Trim Bands
Installing trim bands takes a few simple tools, learn more about each one below:
• Thin Diameter Tube – use a coffee straw, a tooth pick, or something similar in size and structure.
• Masking Tape – use this tape to secure the thin diameter tube (coffee straw, tooth pick, etc.) to the blank.
• Burnishing Tool – use this tool when pushing thread wraps together to finish off the trim band.
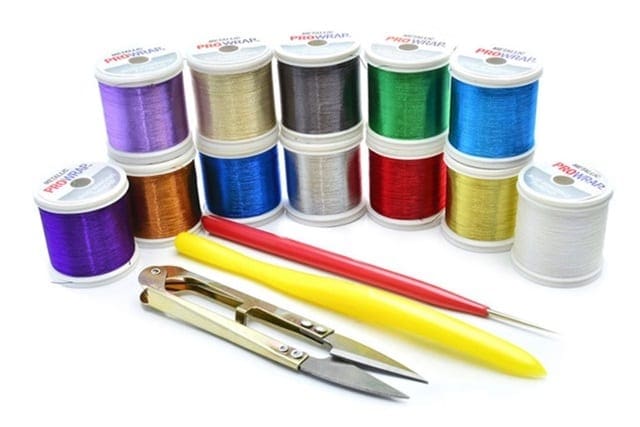
• Contrasting Thread – to make your trim band pop, use a contrasting color from your guide wrap’s nylon thread.
Mud Hole Custom Tackle offers a great Trim Band Creation Kit that has everything you need. From tools to thread, the Trim Band Creation Kit brings it all straight to your doorstep.
9 Steps to Wrapping a Thread Trim Band
Follow these 9 easy steps to create and install your own trim bands:
Step 1: Select your Thread
Since trim bands are purely aesthetic, choose between nylon and metallic thread without worrying about the thread’s ability to maintain any load or force on the blank. Whether you are looking for something mild or wild, thread selection as well as color options are strictly up to your discretion.
Step 2: Cut Off Some Thread
When measuring out thread for the trim band, consider two factors: the diameter of the blank and how thick your trim band will be. Between 10 and 20 inches characterizes most thread lengths for trim bands. With that said, make your life easier with a test wrap to measure the thread. We recommend leaving a little extra thread to account for any measuring mishaps.

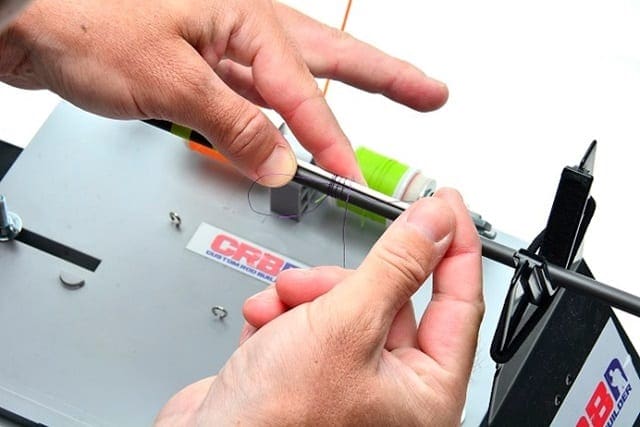
Step 3: Prepare for Trim Band
Although there isn’t a lot to set up, the little preparation necessary is very important to the completion of each trim band. Use a small diameter tube, like a coffee straw, and some masking tape to secure the straw on the blank.
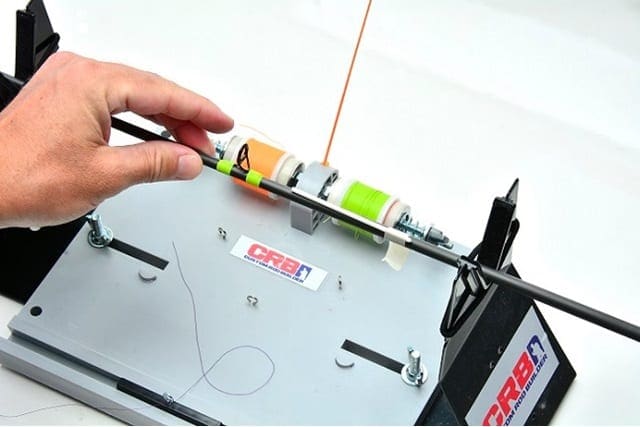
Tape the straw roughly an inch away from where the trim band will sit, and if necessary, cut the straw to account for grips, reel seats, and other protruding components along the blank.
Step 4: Wrap the Trim Band
With the straw taped in place, wrap the thread around both the blank and the straw. Start the trim band by deciding which hand will wrap and which one will maintain the tag end. The tag end becomes important once you finish off the trim band, so don’t lose track of it while wrapping.
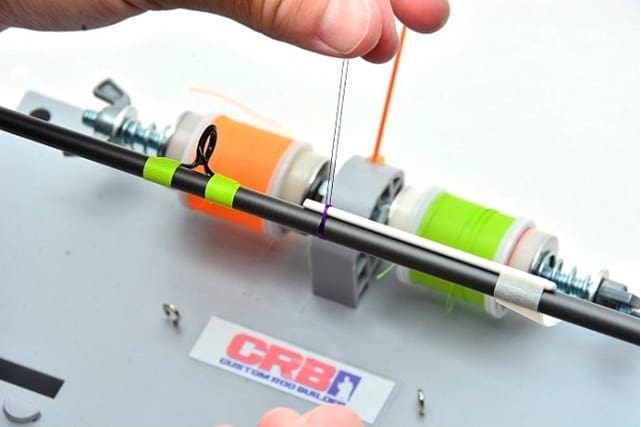
Step 5: Secure the Wrap
When you complete the desired number of thread wraps, feed one tag end underneath the wraps. Slide that tag end beneath the wraps in the small cavity in-between the rod blank and straw.
To ensure the trim band doesn’t unravel, thread the remaining tag end under the wraps, but in the opposite direction of the previous tag.

This will tie off the trim band over the straw and rod blank.
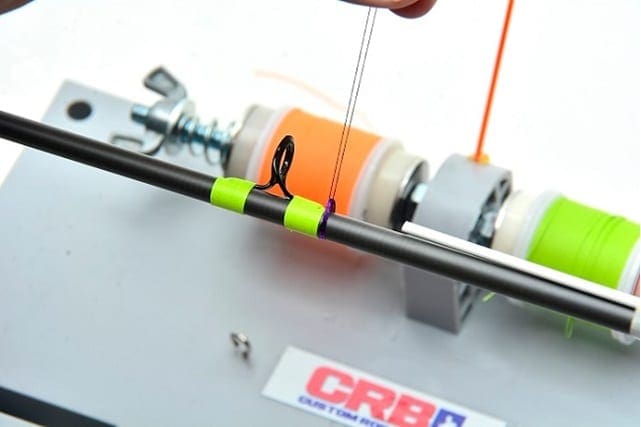
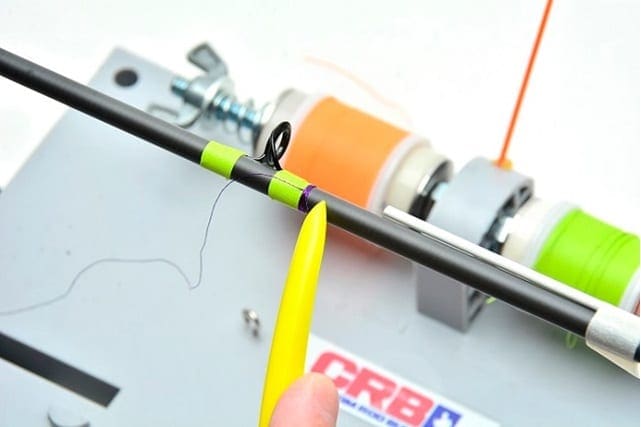
Step 6: Place the Trim Band
After the trim band is secured, pull the tag ends upward to keep the thread’s tension tight.
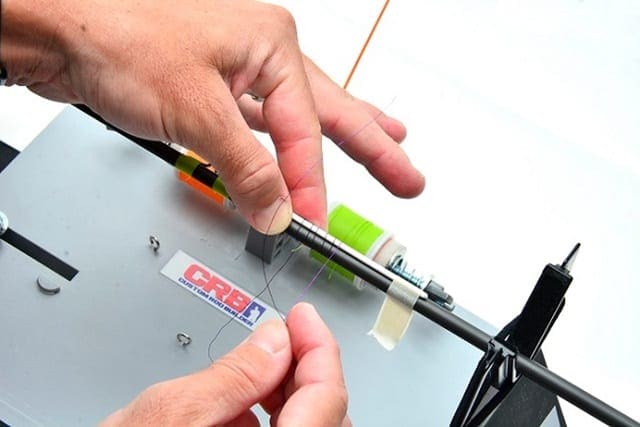
Now slide the trim band off the straw and onto the rod blank. Whether its next to a guide wrap or grip, move the trim band to its desired location before moving any further.
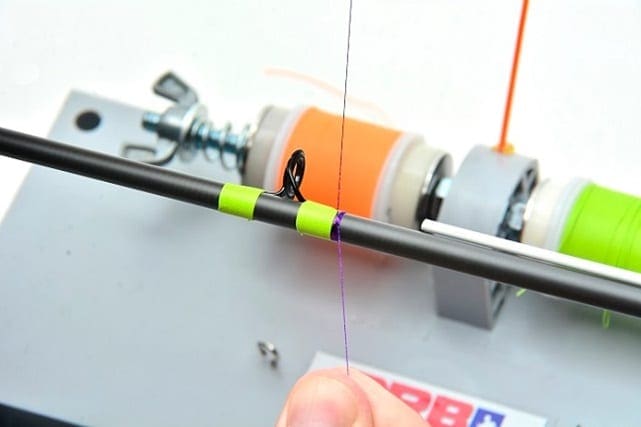
Step 7: Secure the Trim Band
With the trim band in place, pull the tag ends in opposite directions to tighten and tie off the trim band on the rod blank. Avoid excessive force when tightening the tag ends, which could break the thread and unravel the trim band.
Step 8: Complete the Trim Band
Then, use a thread burnishing tool to make sure each wrap is pushed snugly against the next. You can also use the burnishing tool to smooth out any unwanted bumps in the trim band wraps.
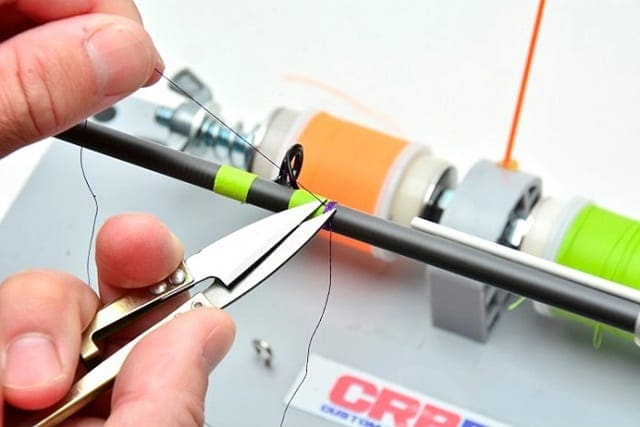
Step 9: Remove the Tag End
Finally, take a razor blade or some thread scissors and cut each tag end flush with the trim band. It is important that the trim band is in place, burnished, and tightened before removing the tag ends.